These may just be my favorite tree stamps ever made!
The Fun Forest Stamps and the coordinating Fun Forest Dies are cute, fun, whimsical and so easy to use.
For today's card I first die cut all the trees then stamped the trunk and branches with Spruce ink. For the leaf portion I inked up the image with Spruce ink but stamped it off once on scratch paper then stamped it onto the die cut. I love the uneven sort of splotchy look because no tree in nature is one solid color and neither are my images.
To create the background I die cut the Throwing Confetti Cover Plate then cut it down using the large stitched rectangle die from the Postage Stamp Dies. I covered the bottom portion with some snow hills that I had first cut with the same stitched rectangle die.
Next I added the panel to a white card base with some craft foam for dimension then adhered the trees. The sentiment is from the Holiday Mix Stamp set (I love this set and use it every year) and embossed in white onto black card stock. This is a great way to break up all the white on a card and it's one of my go to ways to do sentiments.
Tip: save all the circle bits from the Throwing Confetti Die and use it in a shaker card.
This would be an easy one to do multiples of - you could change up the colors of the trees for some fun.
Happy Stampin'
and thanks so much for visiting!
Stay safe everyone!!
Susan
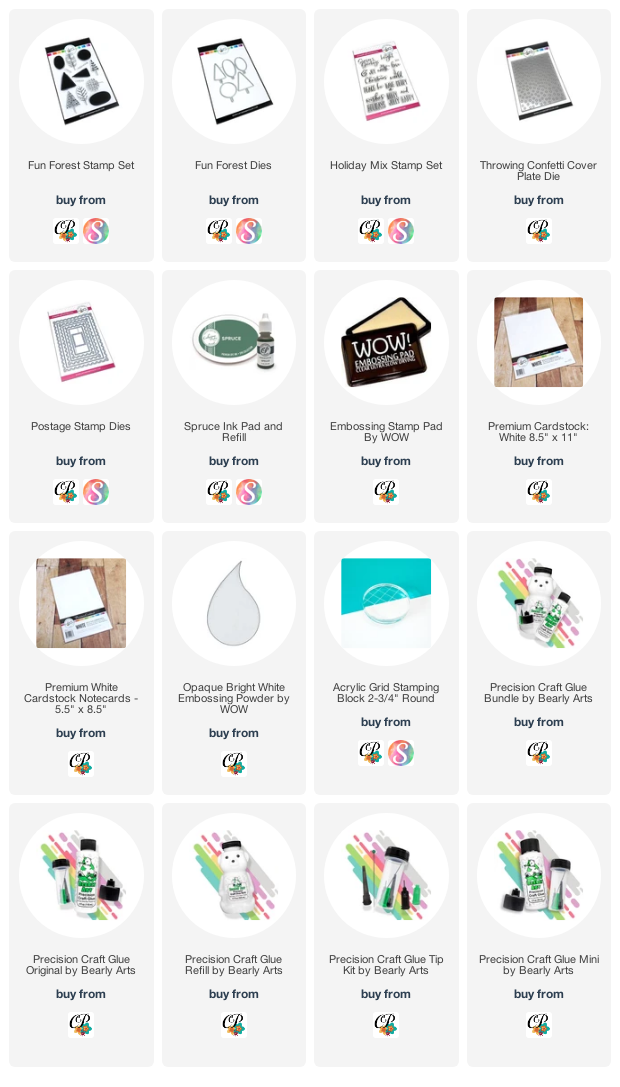
Shopping list:
Below are links to all the goodies I used, just click on the icon to be taken to where you can purchase the product.
If you use my affiliate links when shopping there is no additional cost to you, I want to say thank you and that I appreciate it and you very much.
If you use my affiliate links when shopping there is no additional cost to you, I want to say thank you and that I appreciate it and you very much.


Comments