I watched a tutorial the other day by Jennifer McGuire about how to get more out of your stencils. Stencils have always been something I struggle with. I buy them, I use them once or twice and then they just sit there because I'm not very creative with them. Does that sound like you? If it does then you need to watch her tutorial. Click on her name above to check it out.
***WARNING***
This is a picture heavy post.
This first picture shows the different panels I made.

The next five pictures show the steps.
Start by taping your stencil to some cardstock - colored cardstock works best. You'll see why in a bit. Choose your ink color and start sponging it on.

I chose 4 colors. I started with the darkest color in the center and worked my way out to the edges with the lighter colors.

Now it's time to rotate your stencil. I don't have any magnificent tips for you here. Just rotate to a spot that you feel will look good - sorry, that's all I got. You're going to be adding white pigment ink so keep that in mind. Some stencils are easier than others to imagine the finished look. The more you do the easier it gets to imagine.

After you add the white ink, cross your fingers and then pull off the stencil.

Voila!
This is why it's best to use colored cardstock - white on white wouldn't work. Or would it? Could you use white cardstock and then switch out the white ink with grey or black? hmmm....

Next are a few cards I made with the panels.
I love how this first one turned out so much that I didn't want to cover it up so I did a simple sentiment and a cup. Done.
I used CP Design ink colors - Icing on the Cake, Green Tea and Sauna.
The mug is colored with Prismacolor pencils.
The sentiment is from a new set that I'm sharing tomorrow...

I die cut this next one into a square with a circle out of the center. The flower is stamped in black onto some blue cardstock and then placed into the square. It was looking a little blah so I used a white gel pen to perk it up a bit.. I used the ink pad directly on the edge of the circle to darken it and to help give it some dimension.

This last one I die cut into a rectangle panel and popped it up with some craft foam. The hearts are punched out from vellum. I heat embossed the sentiment onto Kraft cardstock to keep the overall feeling of the card soft and a little romantic. A few pearls scattered around and this one's finished.

Are you feeling inspired to get your stencils out?
If you have any questions, please don't hesitate to ask and be sure to watch Jennifer's tutorial.
Happy Stampin'
and thanks so much for visiting!
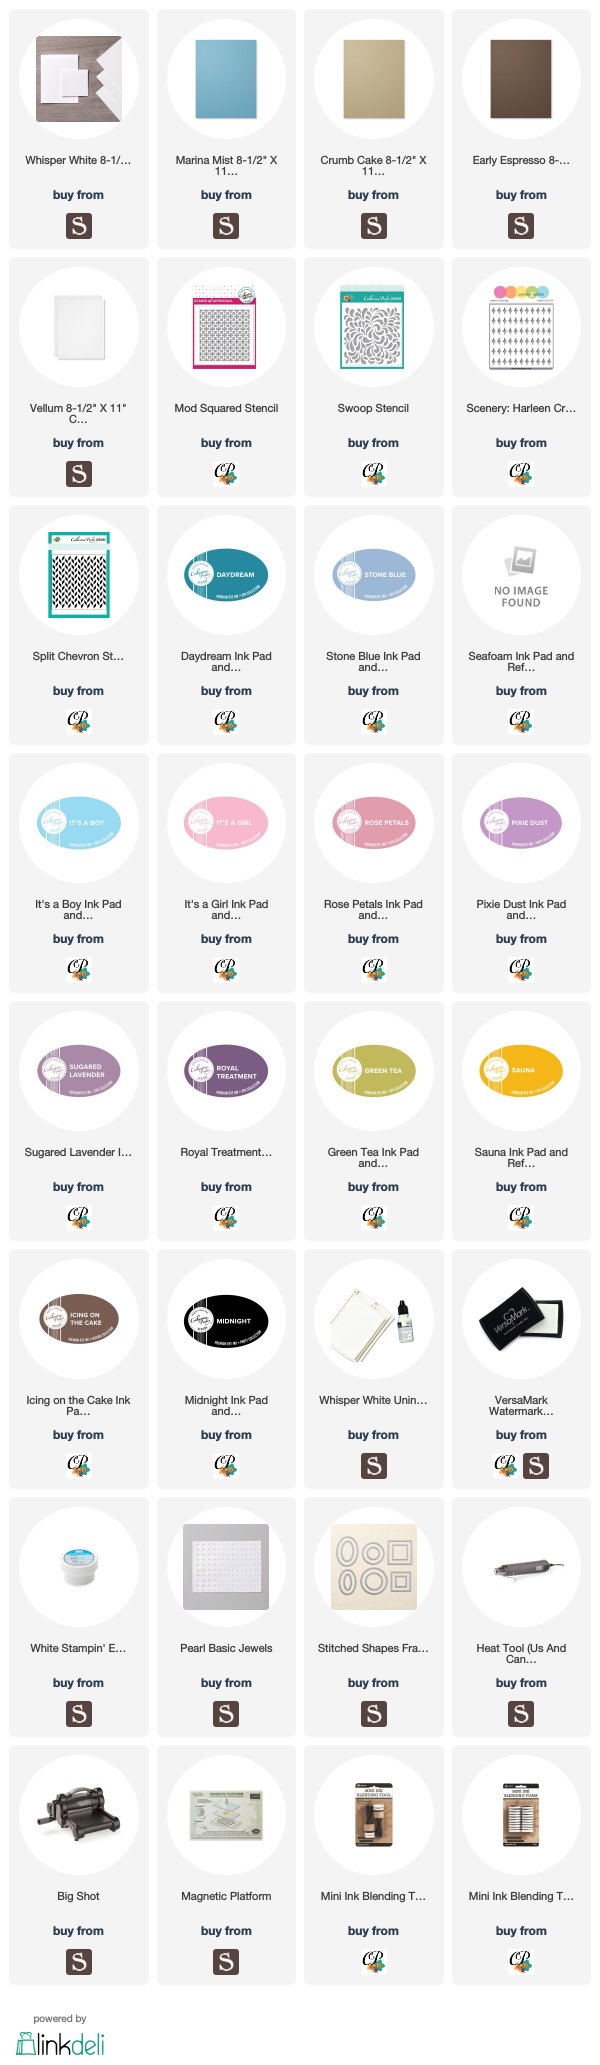
shopping list:
Pretty Posies stamp set (CAS-ual Fridays),
Heartfelt Sentiments (Altenew)
stitched stackable rectangles (lawn fawn)
Bubble stencil (Tim Holtz)
craft foam (Michaels)
Comments